Dev Portfolio Project Part 2 - NavBar

HannahNguyen6729
Introduction 🥳
===============
- In this blog, we'll guide you to create a navigation bar for your website
Prerequisites 🥸
- Cloned the website and able to run it locally ( If not: check previous part )
What you will learn 🤓
- Brainstorming about website layout
- Project folder + file structures
- Components
- Svelte #each loop
- JavaScript Date object
- ... many more
Let's Start 🤖
I. Website Layout 🌐
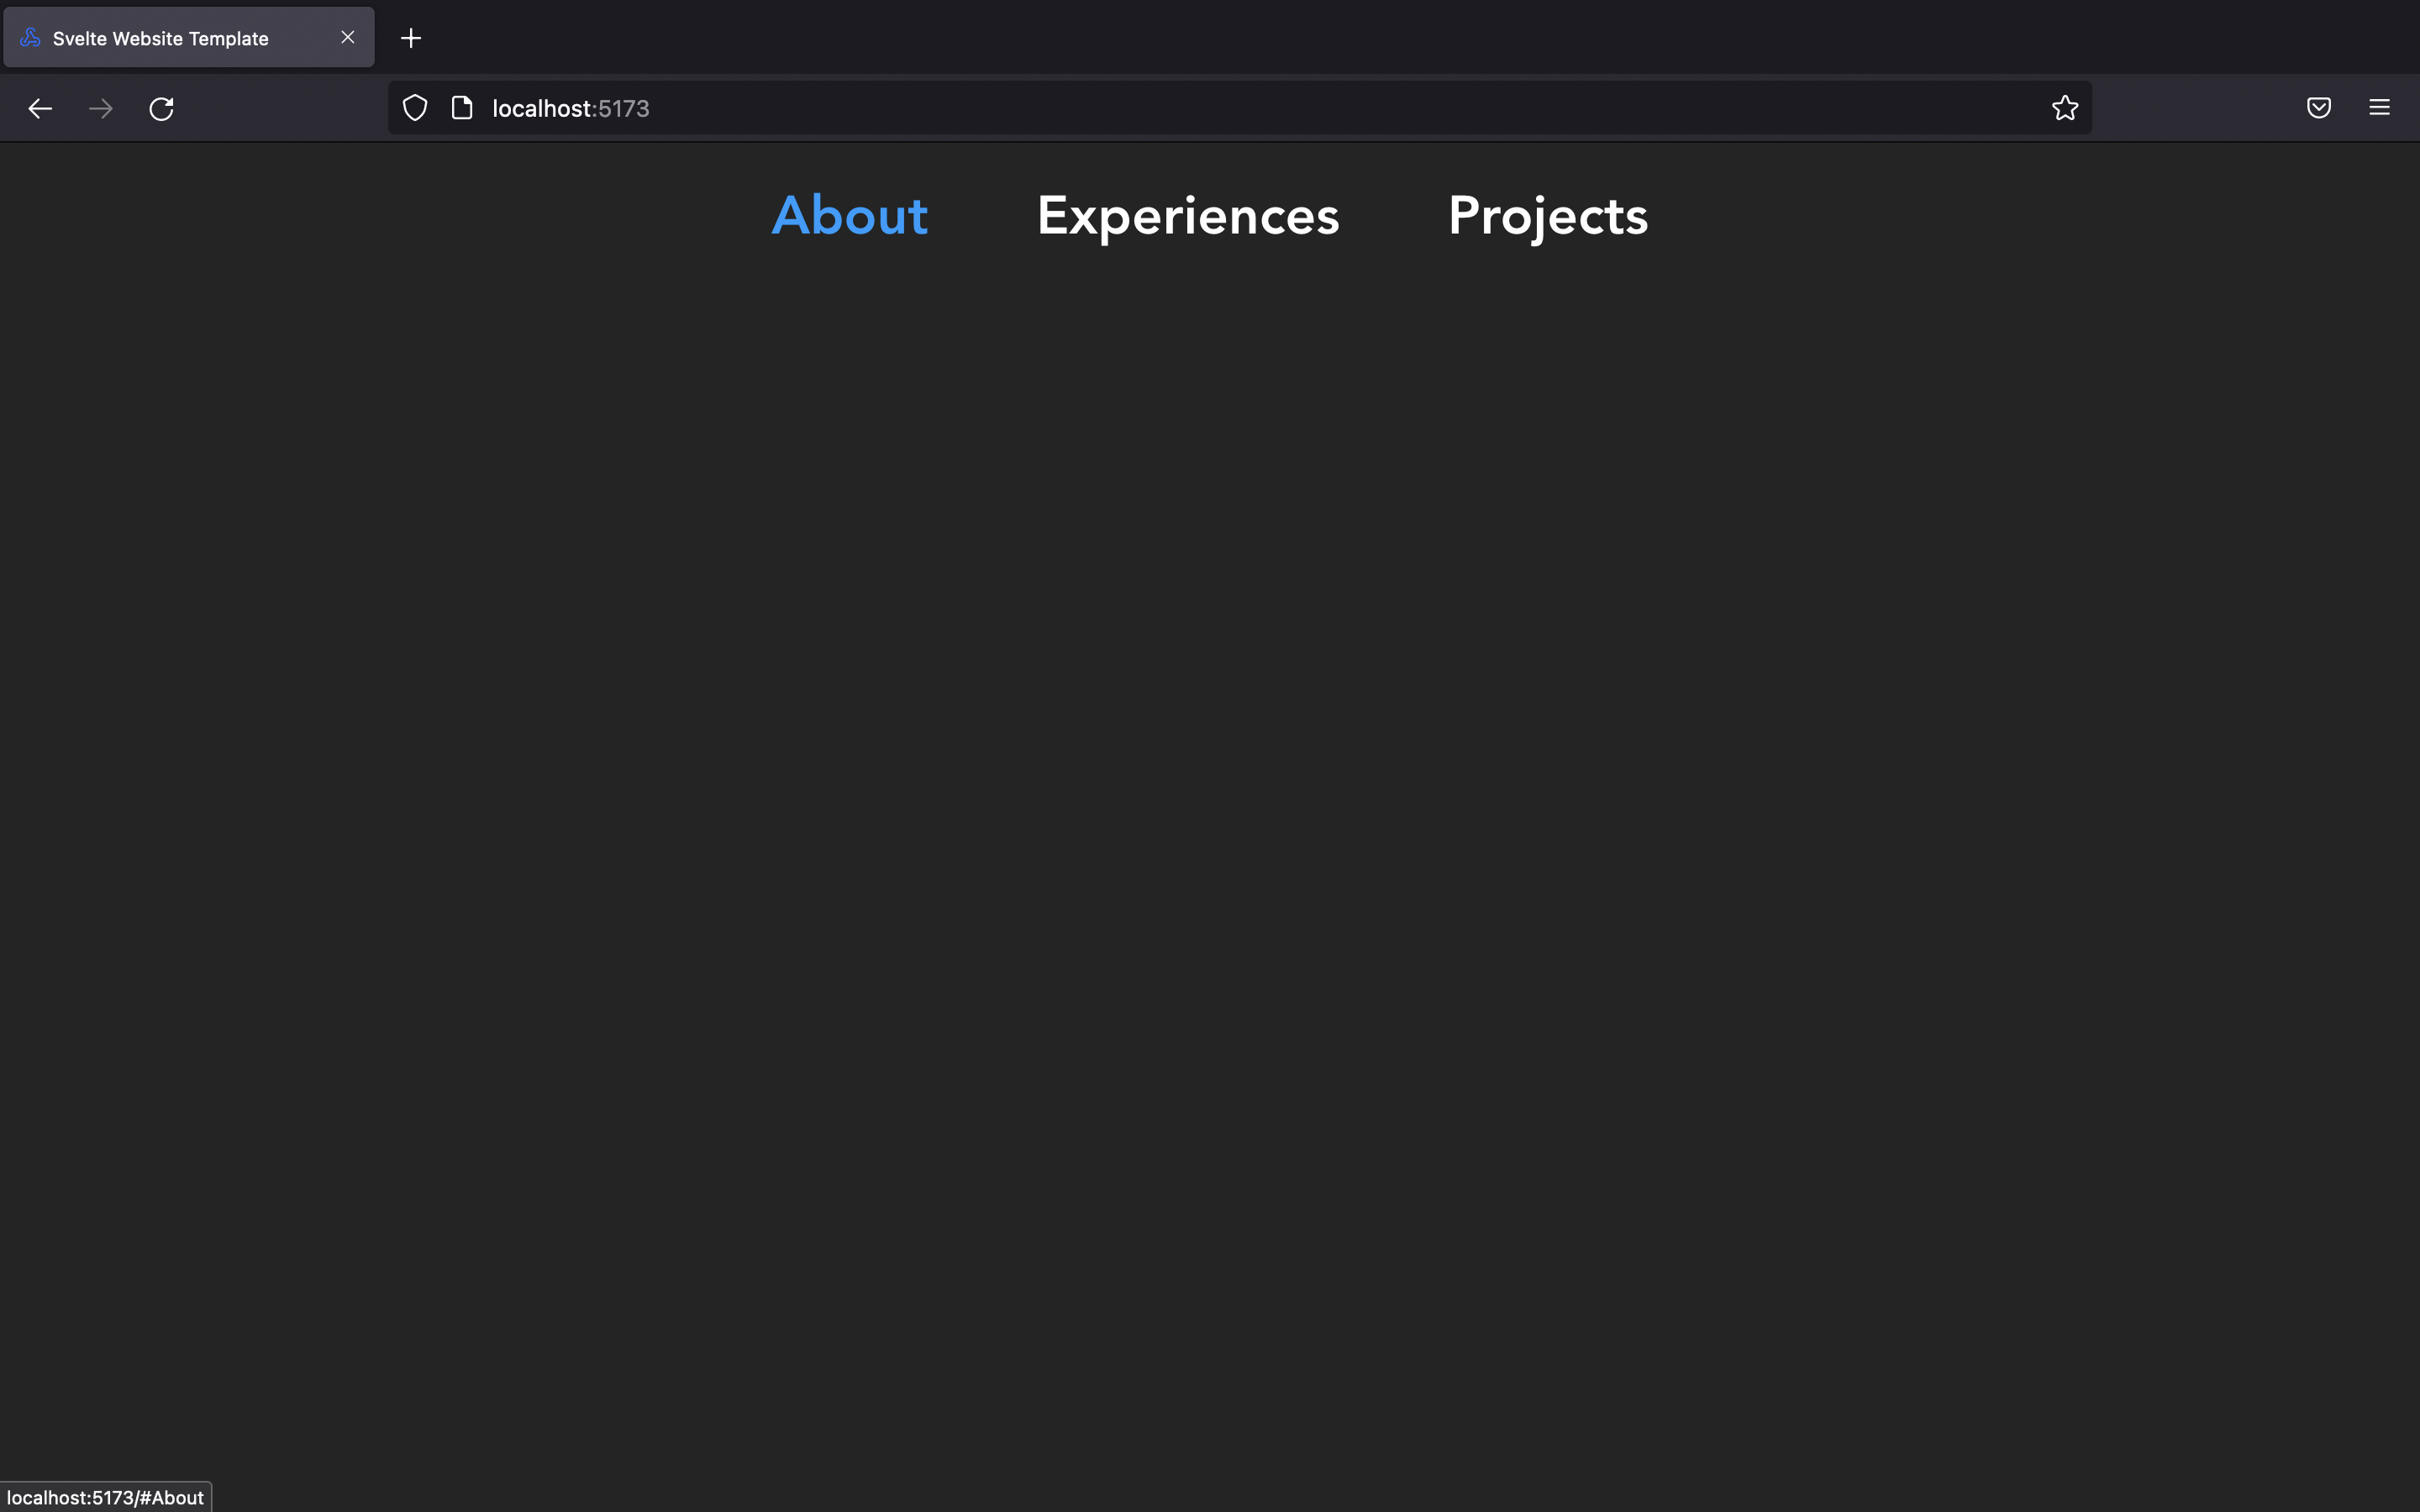
Here's what our final website will look like

Here's how it'll be broken down before jumping to code

II. Let's take a look at our project structure 👀
Here's what you will see when first start

Although there're lots of folders to look at, we only focus on the "src" folder

Here're the main files/folders you need to know
App.svelteis our main Svelte fileApp.cssis our main global CSS filelibfolder contains our components which we will rename to "components" later on instead
Let's do a quick clean up by removing things we don't need
App.svelte: Delete everything but the tags

App.css: Delete place-items:center ( line 30 ) since it'll make everything become center and we don't want that

lib : Rename to components

Delete Counter.svelte

III. Good job, now let's start making our NavBar 🥳
- Here's the NavBar we want to make:
About, Experiences, Projects are link to our sections, Thursday is the current date ( we'll use JavaScript Date Object to make this )

- In
componentsfolder, create a file calledNavBar.svelteand add the necessary tags as follow
Note: You don't need to have all tags as below, you can even have just a
<nav> </nav>tag and it's still valid in Svelte

Now, let's see how component works in Svelte
- Type anything between
<nav> </nav>( because if you want to display something, it has to be within a HTML tag ) in yourNavBar.sveltefile and save it
<p> </p>tag stands for paragraph

- Now, if you run your website using
npm run dev, it won't display that words because you have to import it inApp.svelte- our main Svelte file
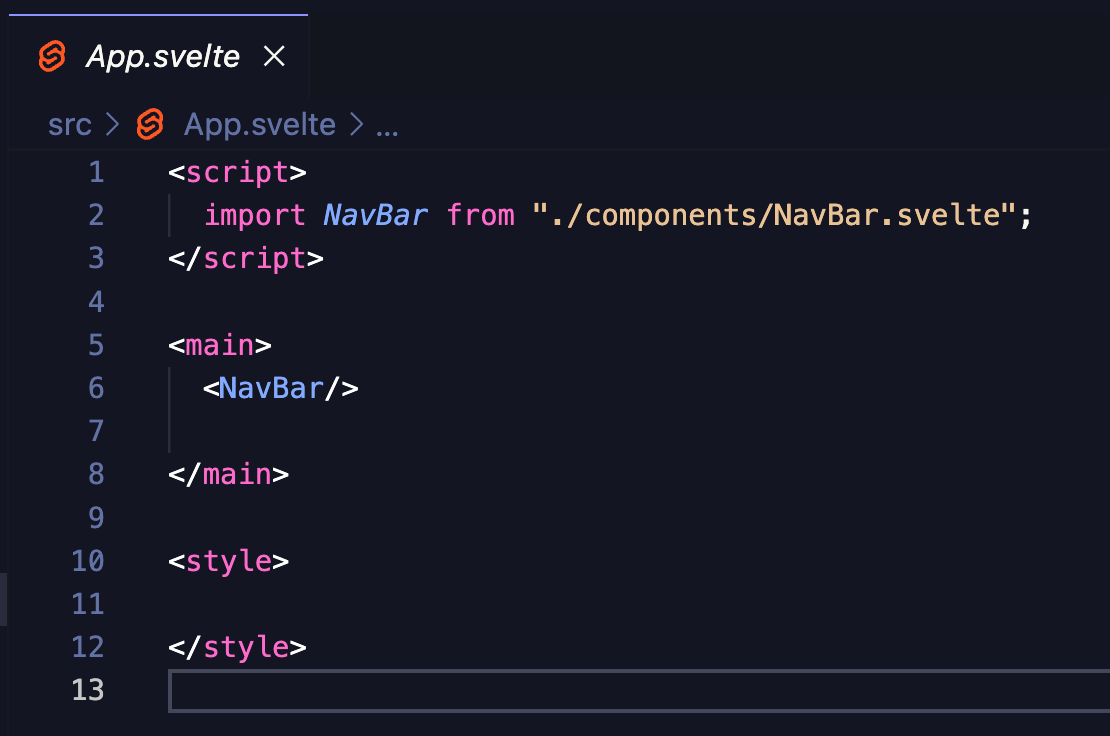
Tada !! that's how you import a component , when you run your website again, you should see it display NavBar content

Now, let's go back to NavBar.svelte and start creating our navigation bar
You can copy paste this code block and read the comments to understand more
<script>

</script>

<nav>
 <!-- We're creating a navigation bar with 3 items: About, Experiences, Projects\-->

     <section class="container__nav" id="/">
        <ol>
  <!-- the href=#something  links to each section so we can create a scroll to section feature\-->
           <li>
               <a href='#About' class="nav__item">
                  About
               </a>
          </li>
          <li>
               <a href='#Experiences' class="nav__item">
                 Experiences
               </a>
         </li>
      <li>
          <a href='#Projects' class="nav__item">
            Projects
          </a>
     </li>
   </ol>
</section>
</nav>

<style>
/* This is CSS style for our navigation bar */
   ol {
    list-style: none;
  }
  li {
    padding: 0;
  }
  .container__nav {
    display: flex;
    justify-content: center;
    align-items: center;
    flex-direction: row;
  }
  .nav__item {
    color: white;
    font-weight: 600;
    font-size: 2rem;
    margin: 0 2rem;
    transition: all 400ms;
  }
  .nav__item:hover {
    color: rgb(0, 157, 255);
  }
  .time {
    color: #1a1a1a;
    font-weight: 700;
    background-color: #2C91C6;;
    padding: 0.35rem;
    margin: 0 2rem;
    border-radius: 12px;
  }
</style>
Now, when you save the file, our NavBar will look nicer
⚠️ BUT, don't you think this block of code is kinda repetitive? we don't want to type the same thing every time we add a new item to our nav bar
<ol class="container__nav" id="/">
  <!-- the href=#something  links to each section so we can create a scroll to section feature-->
      <li>
      <a href='#About' class="nav__item">
        About
      </a>
     </li>
     <li>
      <a href='#Experiences' class="nav__item">
        Experiences
      </a>
    </li>
     <li>
      <a href='#Projects' class="nav__item"\>
        Projects
      </a>
     </li>
  </ol>
💡So, what we can do better by using Svelte #each loop, we'll create an Array of Objects that hold our nav items and then loop through every items and render it to the browser
NavBar.svelte
<script>
  // @ts-nocheck
  history.scrollRestoration = "manual" // Prevent automatic scrolling
  const navItems = [
    { title: "About", url: "#About" },
    { title: "Experiences", url: "#Experiences" },
    { title: "Projects", url: "#Projects" },
  ];

</script>

<nav>
  <section class="container__nav" id="/">
    <ol class="container_nav" id="/">
      {#each navItems as { title, url }}
        <li>
          <a href={url} class="nav__item">
            {title}
          </a>
        </li>
      {/each}
    </ol>
  </section>
</nav>

<style>
   ol {
    list-style: none;
  }
  li {
    padding: 0;
  }
  .container__nav {
    display: flex;
    justify-content: center;
    align-items: center;
    flex-direction: row;
  }
  .nav__item {
    color: white;
    font-weight: 600;
    font-size: 2rem;
    margin: 0 2rem;
    transition: all 400ms;
  }
  .nav__item:hover {
    color: rgb(0, 157, 255);
  }
  .time {
    color: #1a1a1a;
    font-weight: 700;
    background-color: #2C91C6;;
    padding: 0.35rem;
    margin: 0 2rem;
    border-radius: 12px;
  }
</style>
JavaScript Date Object 📆
Display the current date with custom parameters
We can do that in the <script> </script> that allows us to use JavaScript magic
let time = new Date(Date.now()); // Create Date Object
const options = { // We'll need this option for toLocaleDateString() method later on to display on the weekday
  weekday: "long",
};
Then we can display it in our html like this to display current weekday:
<p class="time">{time.toLocaleDateString(undefined, options)}<p>Here's the full code for NavBar.svelte
<script>
  // @ts-nocheck
  history.scrollRestoration = "manual" // Prevent automatic scrolling
  const navItems = [
    { title: "About", url: "#About" },
    { title: "Experiences", url: "#Experiences" },
    { title: "Projects", url: "#Projects" },
  ];
  let time = new Date(Date.now());
  const options = {
    weekday: "long",
  };
</script>

<nav>
  <section class="container__nav" id="/">
    <ol class="container__nav" id="/">
      {#each navItems as { title, url }}
        <li>
          <a href={url} class="nav__item">
            {title}
          </a>
        </li>
      {/each}
    <p class="time">{time.toLocaleDateString(undefined, options)}</p>
  </ol>
  </section>
</nav>

<style>
   ol {
    list-style: none;
  }
  li {
    padding: 0;
  }
  .container__nav {
    display: flex;
    justify-content: center;
    align-items: center;
    flex-direction: row;
  }
  .nav__item {
    color: white;
    font-weight: 600;
    font-size: 2rem;
    margin: 0 2rem;
    transition: all 400ms;
  }
  .nav__item:hover {
    color: rgb(0, 157, 255);
  }
  .time {
    color: #1a1a1a;
    font-weight: 700;
    background-color: #2C91C6;;
    padding: 0.35rem;
    margin: 0 2rem;
    border-radius: 12px;
  }
</style>
Now, you've successfully made the navigation bar 🤩 🤩 You can always check the full code HERE
Originally posted by @anhduy1202 in anhduy1202/DevBlog-yt#3