Dev Portfolio Project Part 3 - About

HannahNguyen6729
# Introduction 🥳
- In this blog, we'll guide you to create the About component for our portfolio website and it looks something like this

What'll be covered in this blog 🤓
- Display image on website
- Props in Svelte
Let's start 🤖
Create About component
- Similar to our NavBar in part 2, we'll create an
About.sveltein our components folder

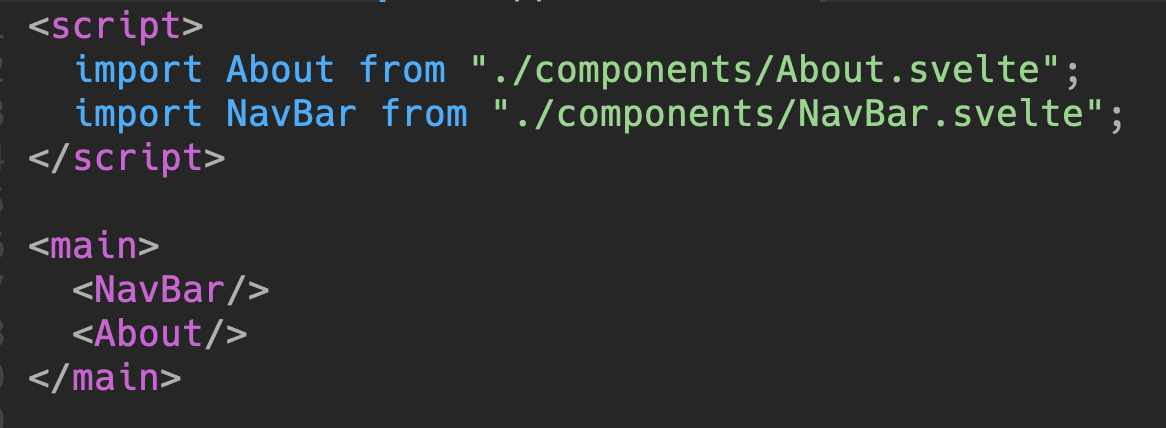
NOTE: Don't forget to import our component in App.svelte - our main Svelte file
Display an Image on our website
- To display an image, we'll need to use the
<img src="" alt=""> </img>in HTML, but we first need to have an image link, it can be image link from the internet or your local image files
EX: Here's an online image link from Unsplash ( website for free images )
https://images.unsplash.com/photo-1586115457457-b3753fe50cf1?ixlib=rb-4.0.3&ixid=MnwxMjA3fDB8MHxwaG90by1wYWdlfHx8fGVufDB8fHx8&auto=format&fit=crop&w=1576&q=80
EX: Here's a local image ( We downloaded a .svg image and put it in our assets folder )

Now, let's try to import our local image in our About.svelte
<script>
  import frank from "../assets/frank.svg"; // Import our local image
</script>

<section>
  <div class="container__about" id="About">
 <!-- Import the frank image and have it as our image source with width = 180px and height = 123px -->
    <img width={180} height={123} src={frank} alt="" />
    <p class="header--small">Hi, I'm Frank </p>
    <p class="header--big">WELCOME TO MY PORTFOLIO</p>
  </div>
</section>

<style>
  .container__about {
    display: flex;
    flex-direction: column;
    align-items: center;
    margin-top: 10rem;
  }
  .header--small {
    font-size: 1.5rem;
    margin: 2rem 0 0 0;
    font-weight: 600;
  }

  .header--big {
    font-size: 2rem;
    color: #2C91C6;
    font-weight: 700;
  }
</style>
Then, after you save file, you should see the an image of Frank along with the welcome message 🦈
BONUS: Props in Svelte 👀
In any real application, you'll need to pass data from one component down to its children. To do that, we need to declare properties, generally shortened to 'props'. In Svelte, we do that with the export keyword
Let's see that with some code:
Passing props
App.svelte
<script>
  import About from "./components/About.svelte";
  import NavBar from "./components/NavBar.svelte";
</script>

<main>
  <NavBar/>
 <!-- we're passing a string with props name ```name```  to About component -->
  <About name="Frank"/>
</main>

<style>
	main {
		margin: 1rem;
		font-size: 1.25rem;
	}
</style>
Receiving props
About.svelte
<script>
  export let name; // receive props ```name```
  import frank from "../assets/frank.svg";
</script>

<section>
  <div class="container__about" id="About">
    <img width={180} height={123} src={frank} alt="" />
   <!-- We're using the props here -->
    <p class="header--small">Hi, I'm {name}</p>
    <p class="header--big">WELCOME TO MY PORTFOLIO</p>
  </div>
</section>

<style>
  .container__about {
    display: flex;
    flex-direction: column;
    align-items: center;
    margin-top: 10rem;
  }
  .header--small {
    font-size: 1.5rem;
    margin: 2rem 0 0 0;
    font-weight: 600;
  }

  .header--big {
    font-size: 2rem;
    color: #2C91C6;
    font-weight: 700;
  }
</style>
So, now if you change the props name into another string, it'll update the name in our About.svelte dynamically, so you can see that props will be helpful if we want to update dynamically instead of hard-coding the string 🥰
Now, you've successfully made the About component 🤩 🤩 You can always check the full code HERE
Originally posted by @anhduy1202 in anhduy1202/DevBlog-yt#4